
So, i decided to create an A-line pillowcase dress that is lined with ruffles on the bottom. I also took this opportunity to learn how to applique with an embroidery machine- much easier than it looks! This dress was much more time consuming than a normal pillowcase dress, but I think it turned out 1000 x's cuter! Now that I made this one for Elsie, I will make a few alterations to Evelyn's- namely adding pockets and I don't think I'll attach the outer dress to the lining on the sides, just under the arms and at the neckline.
When Elsie saw it, she said, " Mommy, it's so beautiful, I'm going to cry!" With rave reviews like that, how can I not keep making her more dresses?
Here is what you'll need...
A-line Pillow Case Dress
These measurements are based on a 4T child with measurements of a 21" chest & waist and a length of 17.5 from shoulder to jut above the knee.
Outer Dress fabric- 3/4 yd
Lining- 1/2 yard
ruffle & bow- 1/2 yard
coordinating thread
Double Fold bias tape in coordinating color-about 16 inches
Step 1: cutting fabric
Make the following cuts:
Ruffle- cut two: 5" x 42"
Tie- 2.5" x 40"
Lining- top is 12", bottom is 20" with a length of 17"- cut 2
Outer dress- top is 12", bottom is 20" with a length of 19.5- cut 2
 The lining and the outer dress fabric are cut on an angle to create the A-line silhouette.
Take your half yard for the lining and cut it into two rectangles.
Fold the fabric in half and cut to the appropriate length. Make sure your fold is straight on your cutting mat. Trim fabric so that it is the width of the bottom of your dress.
At the top of the fabric start at 1/2 your neckline width (as you can see, mine was 6"), using a straight edge, cut on a diagonal until you hit the bottom corner.
When you unfold your fabric, it should look like a trapezoid.
.JPG)
.JPG)
Lay one of your lining pieces over your dress piece. Fold in half and cut the arm holes.
This needed to be free handed a bit. I measured Elsie by holding the tape measure at the seam under her arm of the shirt she was wearing and up to the seam on her shoulder and I added two inches to make up for the fold that will encase the tie at the neck.
So, I went in 2.5" and up 6"
Unfold the dress and trim the access fabric so they are flush with each other.
Do this for the second piece.
Cut the ruffles and ties out of your third coordinating fabric.
Step 2: finishing edges
Finish the edges on the ruffles and the bottom & neck line of the lining and dress. I used my rolled hem foot, but you can just fold over the edges twice and sew.
Step 3: make and attach ruffle
Make the ruffle by sewing the top of each of the strips you cut for the ruffle with a gathering stitch. - Adjust your stitch length and tension as high as they will go and let the fabric gather as you sew.
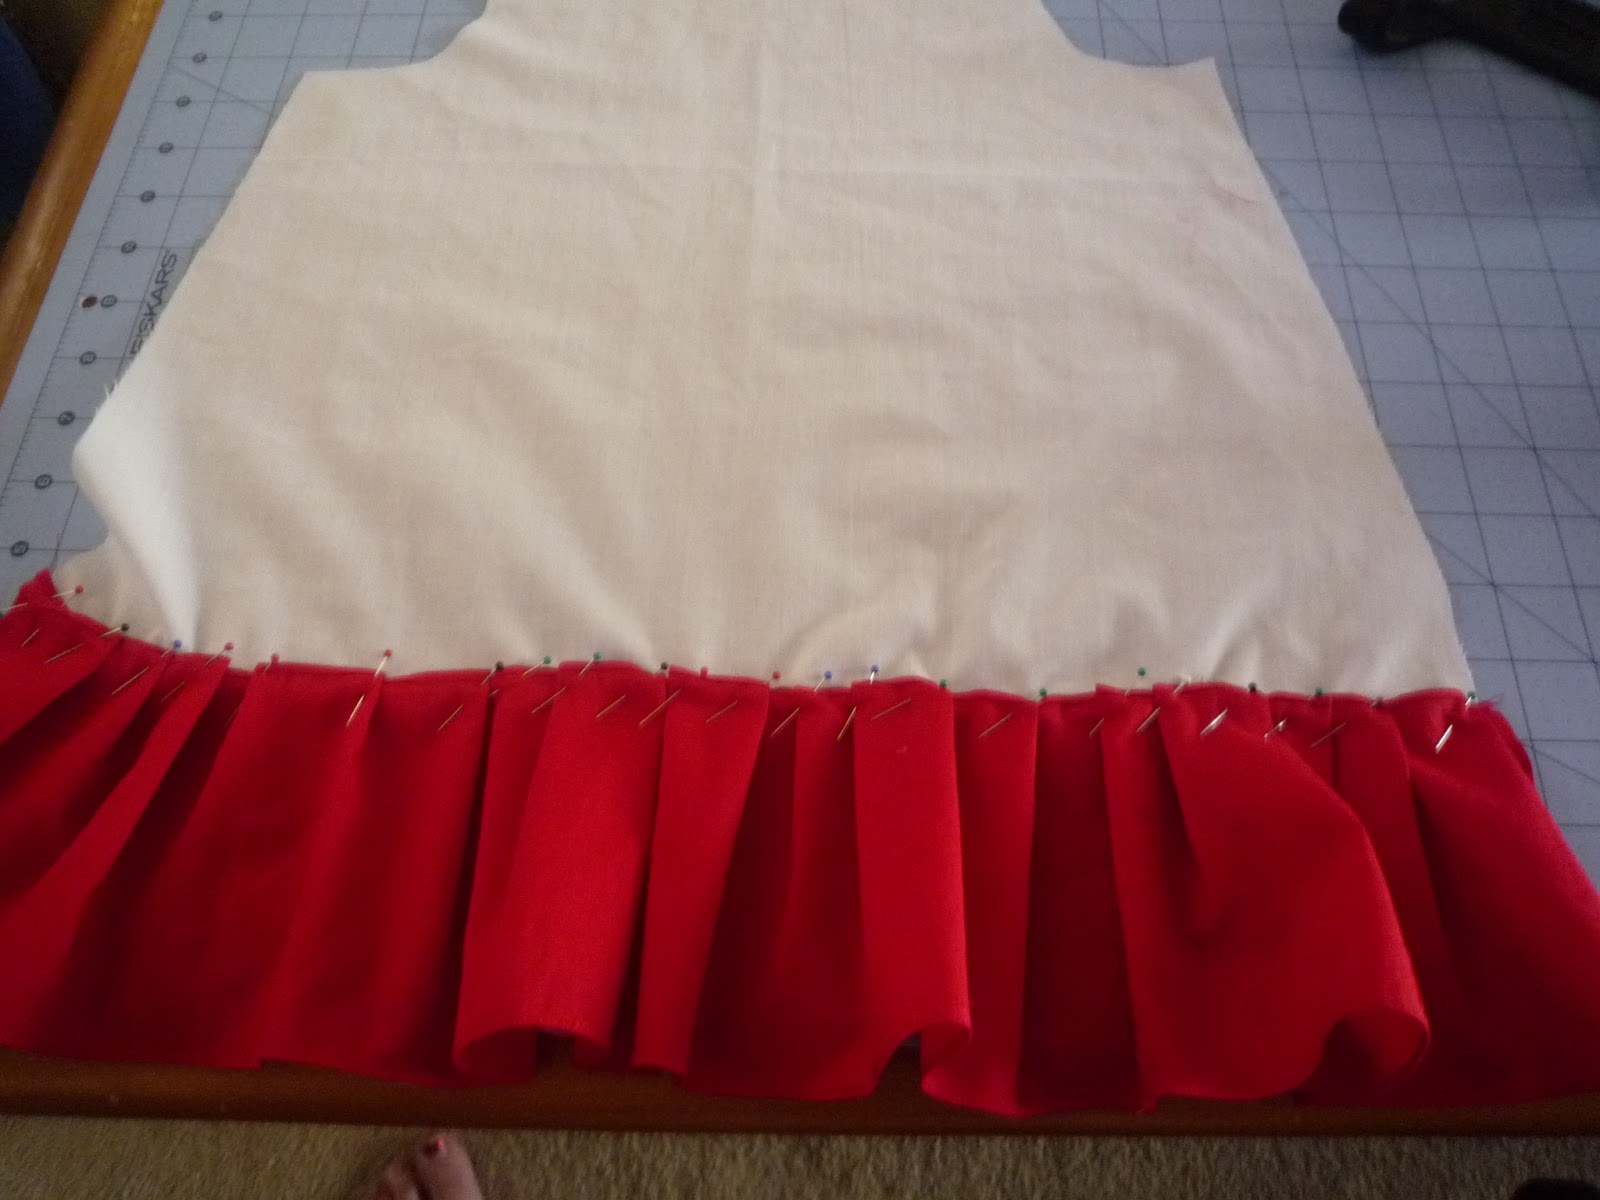
Step 4: Hem dress
Place lining under the outer dress panel and pin where it should be hemmed I wanted about 2.5 inches of the ruffle showing, so I hemmed about an inch.
If you want to add any embellishments to the outside of the dress, do it at this step.
Step 5: Attaching outer panel to the lining
Pin outer panel to the lining.
Sew the top of the two panels together.

Fold down the top of the dress one inch. Sew to create a pocket.
Do this for the other panels- so you now have two complete panels.
Step 6: Completing the dress

Sew the ends of the piece of fabric that was cut for the tie- right sides together. Turn right side out and top stitch around to seal off the ends.
Weave the tie through the neckline and gather.
And you now have an adorable A-line pillowcase dress.
.JPG)
No comments:
Post a Comment